So you’ve got your first Linux VM, hurray! Here is a quick prep guide to get it up to speed.
In this example (and throughout this blog), I’ll assume you’re using the Debian-based Ubuntu 18.04 LTS – which is ideal as it comes with newer software packages and is quite a bit easier to manage than CentOS.
Setting hostname and timezone
After SSH-ing into the terminal, the first two things you’d want to do is update the hostname and timezone settings of your VM. These can be done by the following commands:
hostnamectl set-hostname HOST_NAME
timedatectl set-timezone Asia/Singapore
If you are not using the root account, you’ll need to add sudo before these commands.
Then you will want to update the package information and upgrade the packages in your system:
apt update && apt upgrade -y
Install network traffic monitor
As your VM probably has a monthly traffic limit and exceeding that limit would result in billing shocks, I would suggest installing a small tool called vnStat to keep track of the bandwidth consumption:
apt-get install vnstat
It would automatically install the daemon. Depending on your network interface configuration, you may need to update the configuration file at /etc/vnstat.conf such that the correct interface name is monitored. The default interface is eth0, but on newer VMs, this will be ens3 or ens4. After it is installed, you can also start a live monitoring session by using the vnstat -i eth0 -l command. You can view the summarized bandwidth usage by typing vnstat. An example output is as follows:
Database updated: Sun Dec 15 03:17:08 2019

   eth0 since 11/22/2019

          rx:  175.56 GiB      tx:  170.08 GiB      total:  345.64 GiB

   monthly
                     rx      |     tx      |    total    |   avg. rate
     ------------------------+-------------+-------------+---------------
       Nov '19     27.23 GiB |   27.22 GiB |   54.45 GiB |  180.46 kbit/s
       Dec '19    148.33 GiB |  142.86 GiB |  291.18 GiB |    2.10 Mbit/s
     ------------------------+-------------+-------------+---------------
     estimated    333.11 GiB |  320.82 GiB |  653.93 GiB |

   daily
                     rx      |     tx      |    total    |   avg. rate
     ------------------------+-------------+-------------+---------------
     yesterday      1.53 GiB |  578.53 MiB |    2.09 GiB |  207.85 kbit/s
         today       166 KiB |      93 KiB |     259 KiB |    0.18 kbit/s
     ------------------------+-------------+-------------+---------------
     estimated        --     |      --     |      --     |
Enable BBR congestion algorithm
The default TCP congestion control algorithm used in Ubuntu 18.04 is CUBIC and Reno, which are not very optimized for speed. BBR, or Bottleneck Bandwidth and RTT, is developed by Google that tackles the shortcomings of traditional TCP congestion control algorithms – it can accelerate the network latency and bandwidth of your VM. BBR is already widely used in the Google platforms such as YouTube and Google.com. BBR is also the default congestion control algorithm in Ubuntu 19.04 and newer. To enable BBR on Ubuntu 18.04, you will need to edit the /etc/sysctl.conf file and add the following two lines at the end of the file:
net.core.default_qdisc=fq
net.ipv4.tcp_congestion_control=bbr
And then reload the sysctl configuration with the changes:
sysctl -p
To verify it is running correctly, you can check via:
sysctl net.ipv4.tcp_congestion_control
Install Netdata
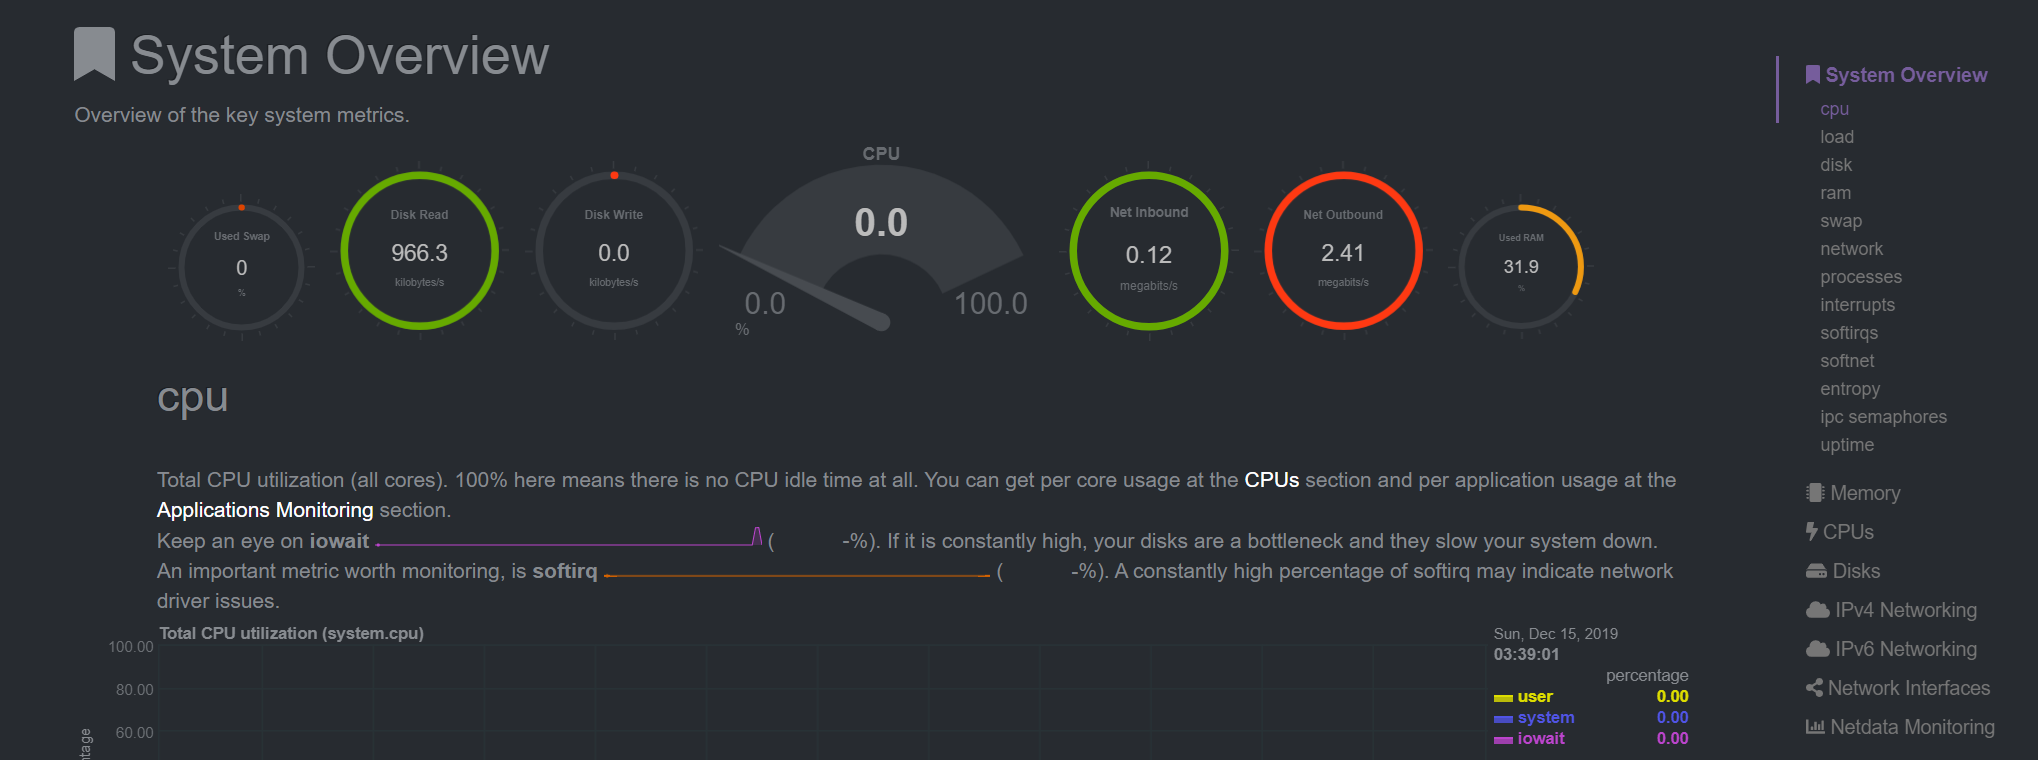
Optionally, you can also install Netdata, which is a system-wide monitoring and logging agent with a nice website listening at port 19999. By default, you can only access it at the localhost. If you want to access it remotely, you will have to edit the configuration file at /etc/netdata/netdata.conf to bind the socket to IP 0.0.0.0. Note that the Netdata author states that it is not designed to be exposed to potentially hostile networks, so if you need to expose port 19999 over the internet, it is strongly advised that you create firewall rules such that only specific networks can access to that port.

Netdata would constantly consume 0.7-1.0% of your CPU cycles due to the real-time logging and updating of data. Use it at your discretion especially if you’re running one of those “burstable” instances with a low CPU usage baseline.
Live patch OS kernel
As the Ubuntu OS kernel is updated very frequently, normally you will need to SSH into the server from time to time and execute those apt upgrade commands, which you may not do so as often. Fortunately, there is a kernel auto-update feature called Canonical Livepatch Service, which applies critical kernel patches to your Ubuntu server without rebooting. This greatly reduces downtime while keeping your Ubuntu OS secure.
You’ll need to have an Ubuntu One account, and that will allow you to manage up to 3 machines for free (for personal use). The commands to install the Livepatch agent and associate it with your Ubuntu account are:
sudo snap install canonical-livepatch
sudo canonical-livepatch enable your_key
You can find out your key by logging into your Ubuntu One account at https://ubuntu.com/livepatch
If your service provider built your VM disk image from an existing snapshot that has already registered to the livepatch server, the program may nag about your system ID not being unique. If that happens, simply regenerate your system ID as root:
rm /etc/machine-id /var/lib/dbus/machine-id
systemd-machine-id-setup
Verify the Livepatch agent is running correctly:
canonical-livepatch status --verbose
If your provider provides an OS image with their customized kernel, Livepatch is not going to work. Only original (generic) Ubuntu kernels are supported. You can find out if you have a generic or customized OS kernel by the command uname -r. If you have a generic kernel, the result will look like 4.15.0-72-generic.
If it looks like 4.15.0-1029-oracle or 4.15.0-1056-aws or 5.0.0-1023-azure, then you are out of luck.

Leave a Reply