I recently renewed my car insurance with Etiqa (Tiq by Etiqa) — and honestly, the experience was one of the smoother ones I’ve had. They were proactive in reminding me about renewal, offered clear quotes, followed up via calls and email, and made payment super easy.
The only thing that could be better? After payment, the new coverage period doesn’t auto-extend on the portal like a subscription service would. Still, it’s a small detail in an otherwise convenient process.
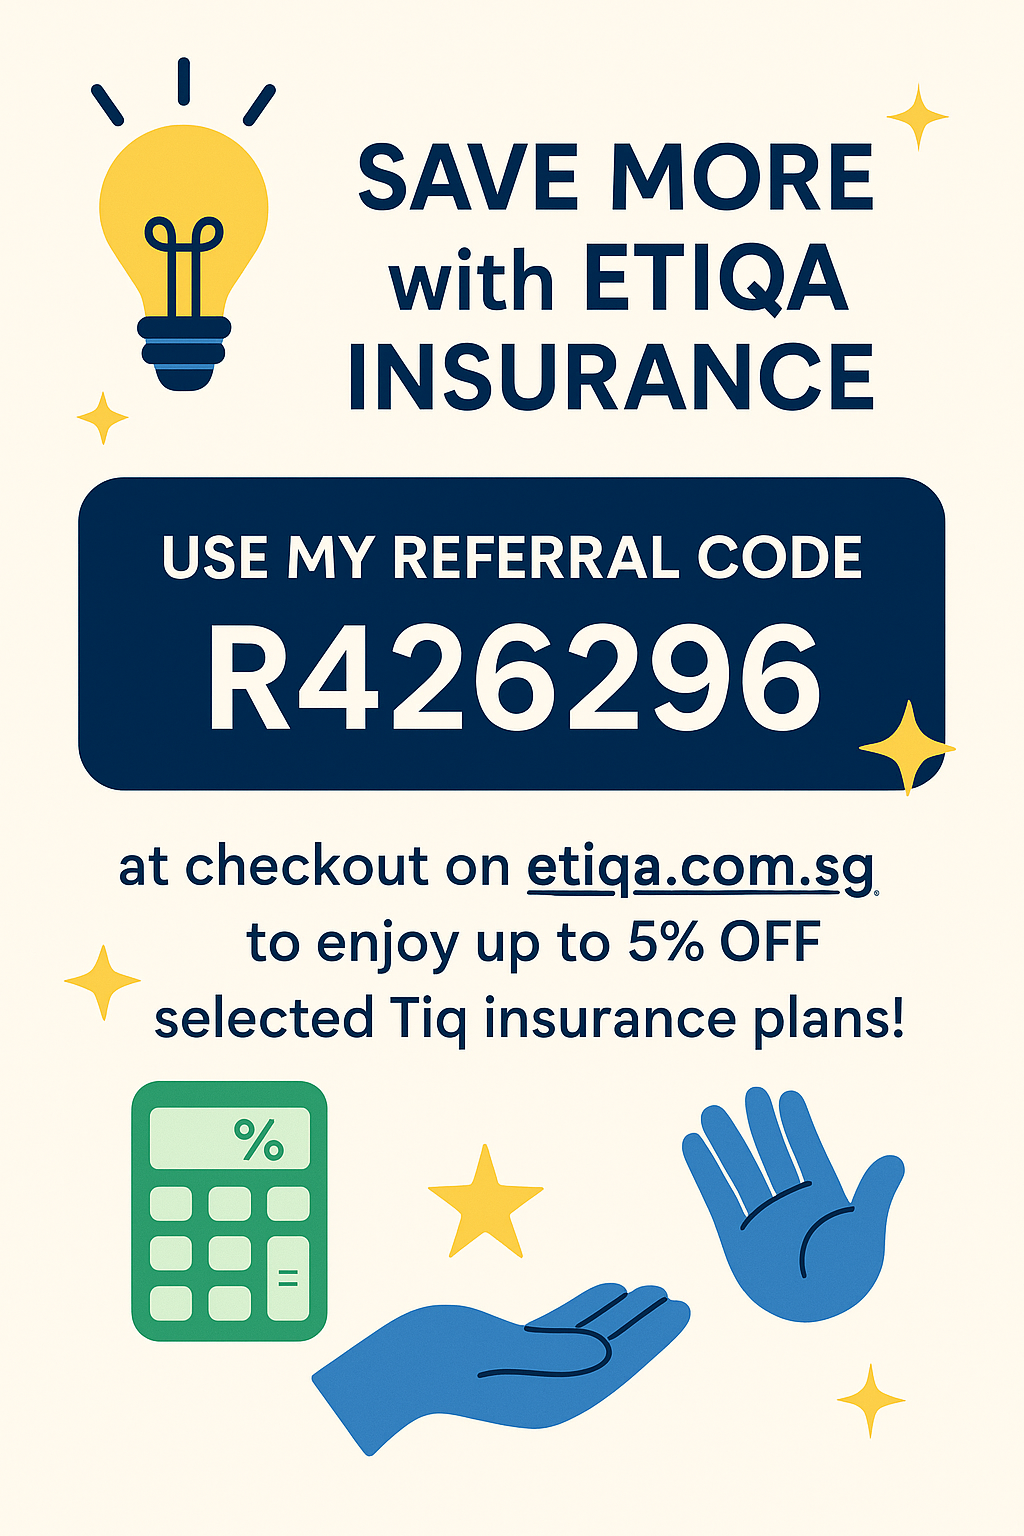
If you’re planning to get insured or renew your policy, here’s a tip — use my referral code below for extra savings.
My Etiqa Referral Code
👉 Referral Link: R426296
Visit Etiqa Singapore and enter it during your purchase or renewal to enjoy your reward!
Referral Benefits
Here’s what both of us get when you use my code:
| Product | You (Friend) | Me (Referral Fee) |
|---|---|---|
| Tiq Travel Insurance | 5% discount | S$10 |
| Private Car Insurance | 5% discount | S$30 |
| ePROTECT Motorcycle | 5% discount | S$20 |
| Tiq Maid Insurance | 5% discount | S$30 |
| Tiq Personal Accident | 5% discount | S$20 |
| Pet Insurance | 5% discount | S$20 |
| Tiq Home Insurance | 5% discount | S$15 |
Why I Recommend Etiqa
- Smooth renewal experience — reminders, calls, and easy payment.
- Responsive customer support that follows up promptly.
- Digital-first experience — get quotes, pay, and manage policies online.
- Referral perks — real rewards for both parties.
I’ve used Etiqa for my own coverage, and I find them one of the most customer-friendly insurers in Singapore.